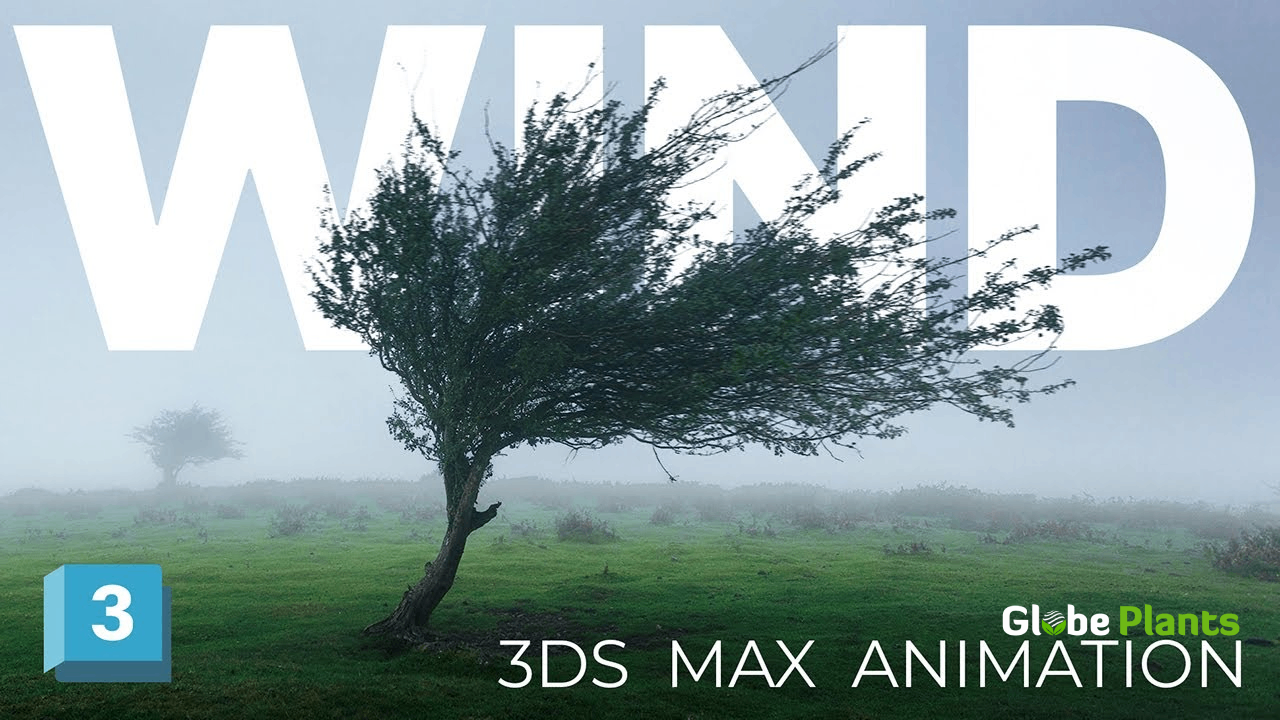
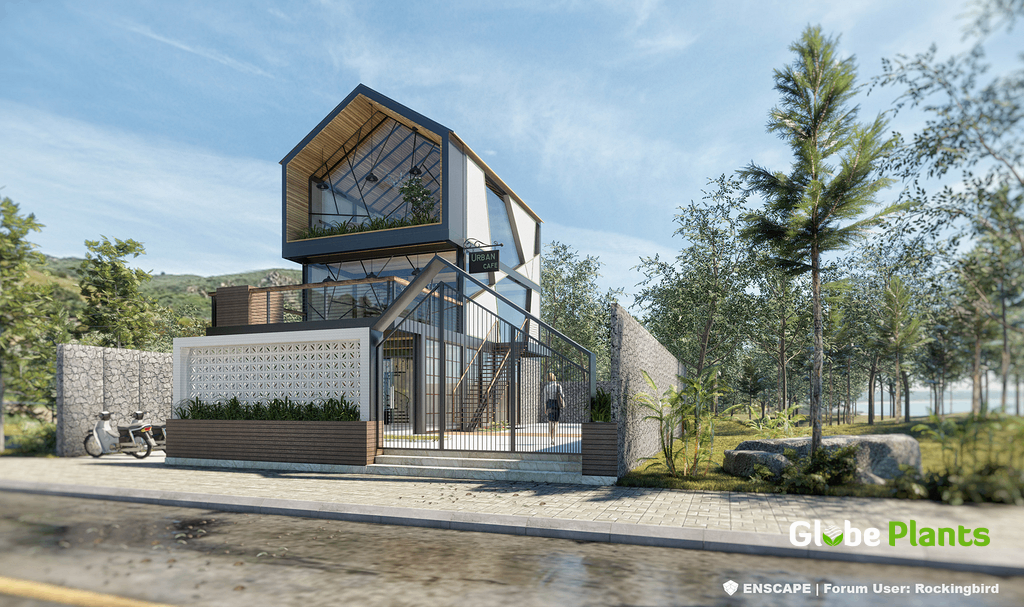
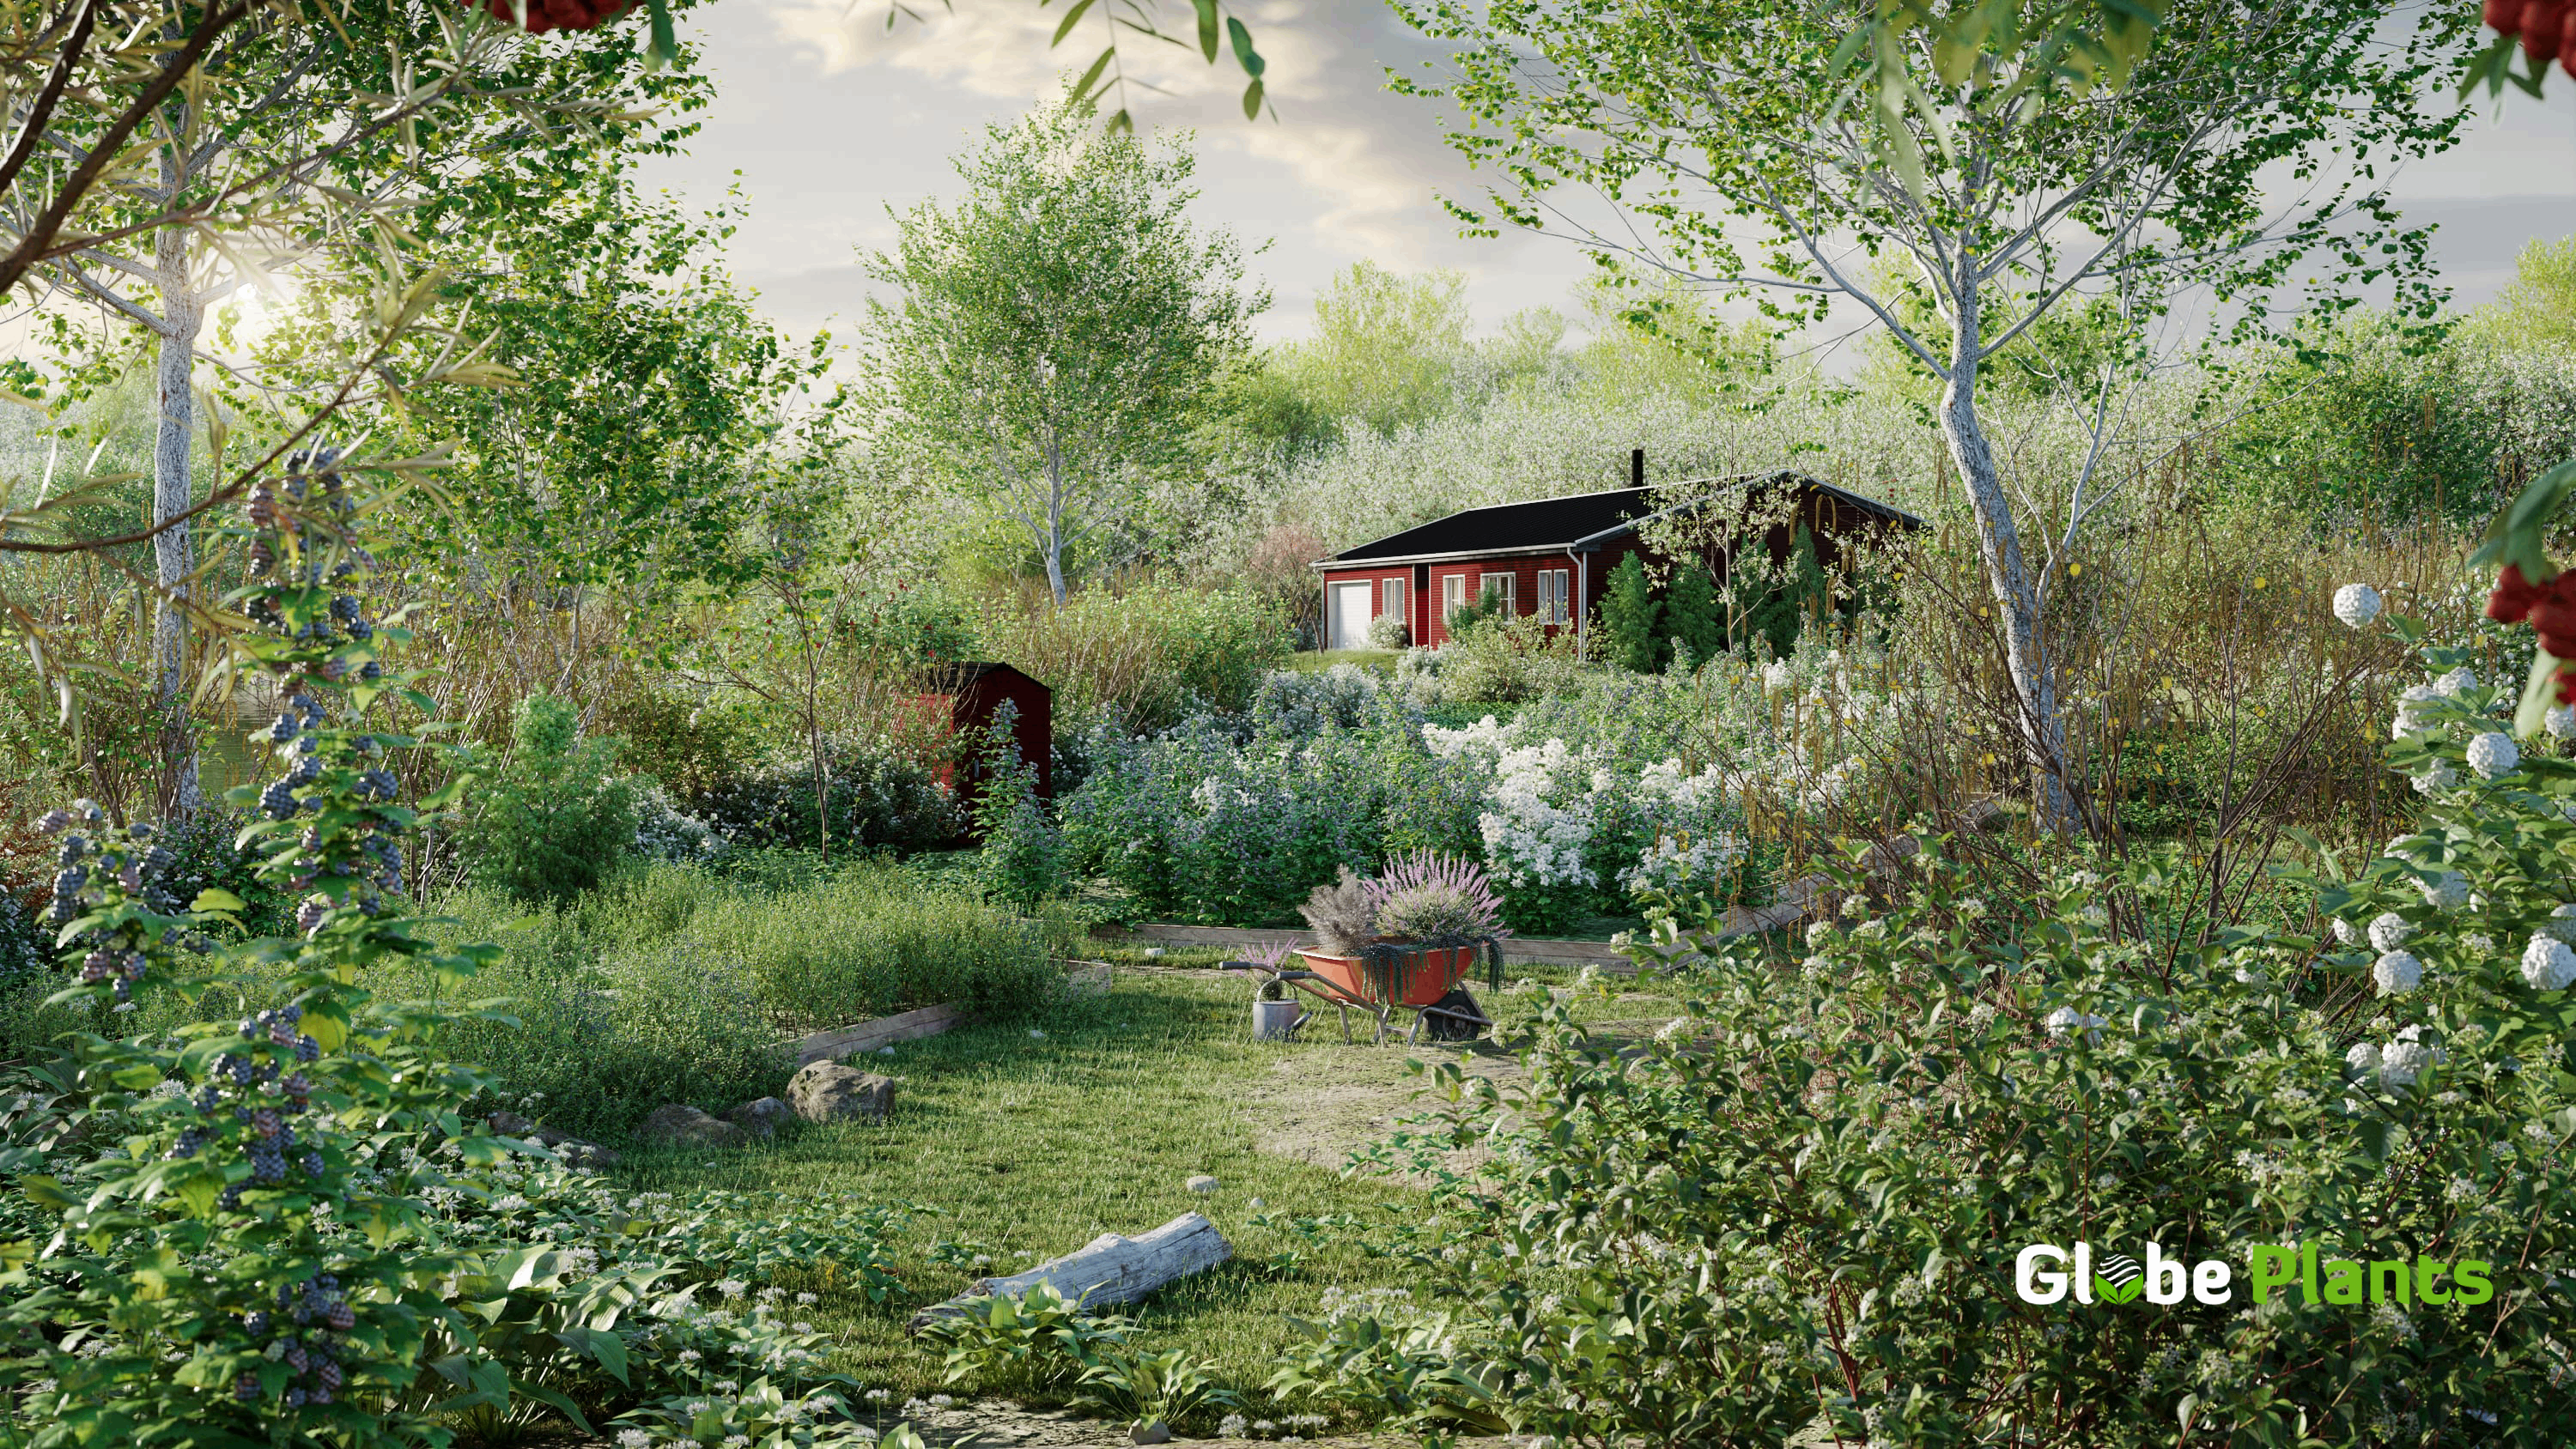
Wind animations can add an extra touch of realism and depth to architectural visualizations. In this GrowFX tutorial, we'll walk you through how to animate a tree model from Globe Plants using the GrowFX plugin in 3ds Max, making it sway as if it's under the effect of the wind.
Who is Arch Viz Artist?
Arch Viz Artist is an online platform dedicated to professional courses in architectural visualization. For those seeking reliable arch-viz tutorials, tips, and techniques, this platform serves as a prime resource. Drawing from extensive experience in architecture, graphics, and architectural visualization, Arch Viz Artist offers:
- Guidance on maximizing one's skills.
- Strategies to distinguish oneself in the market.
- Pathways to achieving professional stature.
- Methods to make passion profitable.
With Arch Viz Artist, learners find practical insights to move forward in the creative field.
Why Use GrowFX for Wind Animation?
GrowFX is a prominent tool in the world of 3D modeling and animation, specifically designed to cater to the creation and animation of plants. Its uniqueness stems from its deep-rooted focus on botanical elements, ensuring detailed and realistic results.
Features and Benefits of GrowFX for Creating and Animating 3D Plants:
- Precision and Customization: GrowFX allows users to design plants with intricate details, from the curvature of leaves to the texture of bark. This precision ensures that the 3D plants produced are not only visually appealing but also scientifically accurate.
- Dynamic Animation Capabilities: One of the standout features of GrowFX is its ability to animate plants, making them respond to external elements like wind. This ensures that the plants not only look real but also move realistically.
- Scalability: Whether it's a single flower or an entire forest, GrowFX can handle it. Its scalability ensures that projects of all sizes can be undertaken with the same level of detail.
- User-friendly Interface: Despite its powerful capabilities, GrowFX boasts a user-friendly interface that allows even beginners to navigate and utilize its features effectively.
- Integration with Popular 3D Platforms: GrowFX seamlessly integrates with popular 3D modeling platforms, ensuring that artists and animators can easily incorporate their creations into larger projects without compatibility issues.
- Efficient Rendering: GrowFX is optimized for efficient rendering, ensuring that animations, especially those with wind effects, are smooth and lifelike without putting undue strain on system resources.
Given its features and benefits, GrowFX stands out as an indispensable tool for those looking to bring a touch of nature's realism to their 3D projects. The wind animation feature, in particular, adds a dynamic element to 3D plants, making scenes more engaging. With GrowFX animation tree, you can enhance your 3D nature scenes, creating stunning and realistic animations effortlessly.
Step-by-step Guide: Adding Wind Animation to Globe Plants 3D models with GrowFX
Enhance your render scenes with Globe Plants 3D models by utilizing ready-to-use 3D plants into your GrowFX. Through a systematic process in 3ds Max, users can utilize the GrowFX plugin to simulate natural wind effects on plant models. This technique is invaluable for architectural visualization, game design, and other 3D applications.
1. Requirements:
- A tree model was was saved in the GrowFX format. You can purchase a suitable model from the GlobePlants website.
Explore 3D Plants Models for GrowFX
2. Getting Started:
- Load your tree model in 3ds Max.
- If your model is from an older version of GrowFX, simply convert it by clicking the designated button.
- Access the node editor to view your tree's structure. This allows you to see the individual paths like the trunk, branches, and leaves.
3. Preparing the Model:
- To make your workflow faster, you can disable some paths (e.g., leaves and stems).
- It's essential to add the wind modifier after the mesh generation for accurate results.
4. Adding the Wind Animation:
- Open the wind animation modifier node.
- If there's no wind object in your scene, quickly create one.
- Remember to switch the display to meshes to view the wind effect.
- Control the intensity using the wind speed setting. A lower value indicates a gentler wind.
5. Fine-tuning the Animation:
- Use the decay option to set areas affected by the wind.
- The perturb speed option introduces variations in the animation. Adjust the speed amount to control deviation.
- The size option determines the size of the fractal noise. Bigger values lead to subtler effects.
- Use the phase and perturb vectors to adjust the wind's direction and speed, respectively.
6. Setting the Wind's Direction:
- Rotating the wind object allows you to set the wind direction.
7. Path Settings:
- Control the stiffness and flexibility of the tree's paths:
- Higher stiffness values lead to less noticeable wind animation.
- Greater flexibility values make the tree paths more susceptible to wind forces.
8. Adding Wind Modifiers to Other Paths:
- You can apply the same wind object to all wind modifiers to maintain uniformity.
- Different tree elements, like branches or leaves, might need varying stiffness and flexibility settings. As a general rule, larger branches should be stiffer.
9. Final Adjustments:
- Activate the axial rotation option for leaves.
- Set the maximum deflection angle of the axial rotation to achieve your desired effect (e.g., 70 degrees).
Final Note:
After all these steps, you'll have a tree model with a realistic wind animation effect. It's possible to adjust wind speed, direction, and other parameters as needed. To see your work in action, render your scene and enjoy the results.
Conclusion
In the realm of digital visualization, details matter. Through this article, we've learned a straightforward method to add wind animation to Globe Plants 3D models using GrowFX. Adding this element of movement enhances the realism of our models, setting them apart in the ArchViz industry. As artists, employing such techniques ensures our work remains relevant and top-notch. Utilize these steps, and you'll see a marked improvement in the authenticity of your 3D creations.


