Twinmotion has rapidly become one of the popular visualization software for architects and designers. Nevertheless, akin to any software, beginners often encounter Twinmotion rendering mistakes when initially venturing into the platform. This post is a comprehensive guide to the most common mistakes that new Twinmotion users make and how to avoid them, ensuring a more realistic render.
What Makes Twinmotion the Most Powerful Render Engine?
Twinmotion stands out in the world of visualization tools for several key reasons:
- User-Friendly Interface: Even for beginners, Twinmotion's intuitive design makes it easy to jump in and start creating.
- Vast Asset Library: With a wide range of pre-loaded assets, users can bring their scenes to life without searching elsewhere.
- Real-Time Rendering: Unlike many other engines, Twinmotion offers real-time feedback, allowing designers to see changes instantly and adjust accordingly.
- Integration Capabilities: Twinmotion seamlessly works with other design software, ensuring a smooth workflow for architects and designers.
- Dynamic Environmental Settings: Users have the flexibility to adjust weather, lighting, and seasons, enriching their Twinmotion rendering with diverse scenarios and enhancing realism.
9 Beginner Mistakes When Rendering With Twinmotion
Starting with Twinmotion can be exciting, but many beginners face common hurdles. Here are nine mistakes often made and how to fix them:
Not Adjusting Settings Properly
- Issue: High-poly scenes can be resource-intensive, often causing Twinmotion to respond slower than usual.
- Solution: To enhance the software's performance, you can adjust various quality settings. Consider refining parameters like anti-aliasing, texture resolution, or even the overall quality settings to 'medium' or 'high'. For those using newer versions of Twinmotion, it's beneficial to harness the capability of viewport resolution scaling, ensuring smooth operations.
Inexperienced with 3D Plant Models
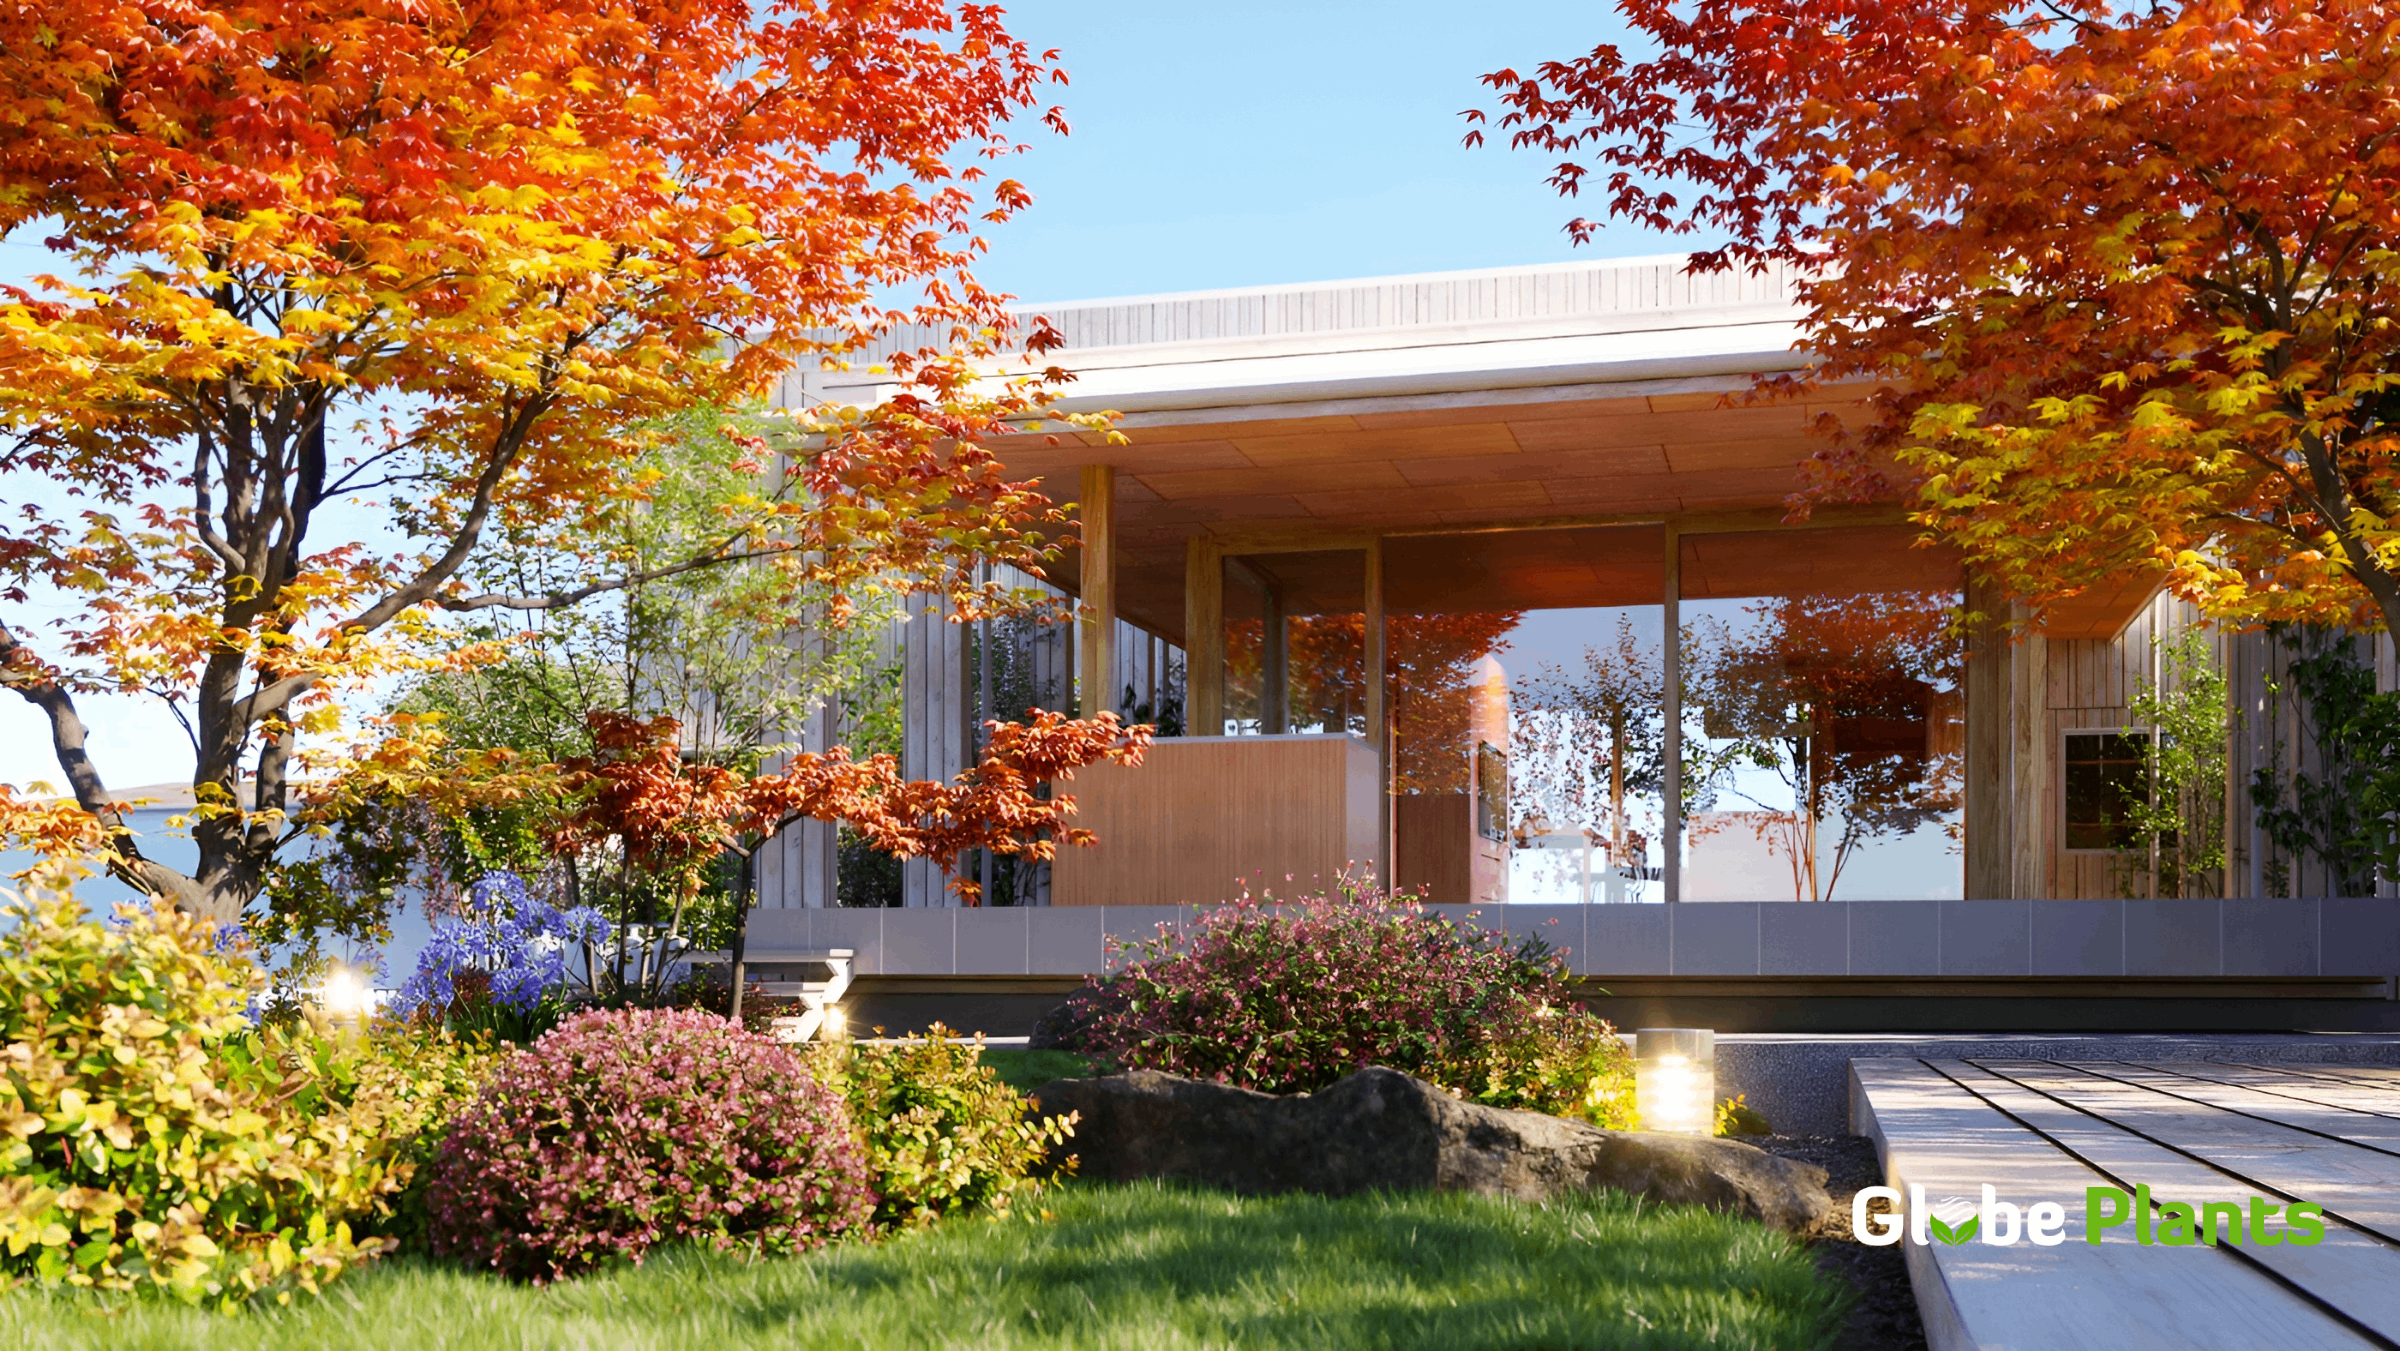
- Issue: Twinmotion offers a wide range of 3D models, including plants. However, beginners often find it challenging to integrate 3D plants effectively. This is crucial for crafting lifelike landscapes. If you're unsure about using 3D plant models in Twinmotion, your scenes may lack the realism and vibrancy that real vegetation provides.
- Solution: To fix this, try using pre-made 3D plant models like those from Globe Plants. These ready-to-use 3D plants can elevate the realism of your Twinmotion renders without the hassle of creating vegetation from scratch.
Browse our amazing 3D Twinmotion Plant Models here
Material Misunderstandings
- Issue: One of the nuances of working with 3D modeling is the correct display of materials. Beginners might notice that sometimes materials appear incorrectly, especially when trying to view the back or reverse side of a model. This might make the model seem incomplete or even cause confusion during the rendering process.
- Solution: This can be resolved simply by turning on the "two-sided" feature within the material settings. This ensures the complete material display, regardless of the angle of view.
Path Tracer Settings
- Issue: A common misstep for newcomers to Twinmotion is relying solely on the default path tracer settings. This can lead to subpar rendering results that don’t capture the full potential of their projects.
- Solution: Based on the intricacies of your project and the desired output quality, you can customize the resolution settings in the path tracer. Adjusting values like samples and bounces can enhance render speeds without sacrificing too much on the visual quality.
Neglecting Camera Effects
- Issue: Ever noticed the pristine clarity of architectural photos from top studios? The secret lies in aligning the vertical lines perfectly. While photographers employ a unique "tilt shift" lens for this, achieving the same effect in Twinmotion is straightforward with just the right setting.
- Solution: By enabling "parallelism" within camera effects, images can achieve aligned and straightened edges, offering a cleaner and more professional look, similar to what's seen in a two-point perspective.
Improper Lighting
- Issue: Lighting plays a pivotal role in any visualization, and with Twinmotion, the High Definition Range (HDR) environments hold the reins. However, it's not uncommon for beginners to misadjust these settings, resulting in scenes that are either too dim or glaringly bright. For example, outdoor scenes might seem like they're shot in the middle of the night or during an extremely overcast day, or they can appear as if they're under the scorching sun with no middle ground.
- Solution: Adjusting the HDR settings in Twinmotion requires a blend of technical understanding and aesthetic judgment. Here's a step-by-step guide:
- Navigate to the Lighting Settings: Within Twinmotion, go to the lighting or environment section where you'll find the HDR settings.
- Choose the Right HDR Map: Before adjusting the brightness, ensure you've chosen an HDR map that aligns with the desired mood and time of your scene. Each HDR map provides a different type of lighting condition.
- Adjust the Brightness: Now, focus on the brightness slider. Begin by setting it to a middle value and then preview the scene. Adjust incrementally, previewing after each change.
- Consider Other Factors: While adjusting the HDR brightness, also keep in mind other lighting elements in your scene, such as artificial lights or reflections. They can play a part in how the overall scene appears.
- Test Renders: After each significant adjustment, it's wise to do a test render. This will give you a clearer understanding of how the final output will look.
Material Placement Issues
- Issue: Materials might not showcase correctly because of problems related to UV mapping.
- Solution: By changing the UV projection type, you can correct how textures are presented on various surfaces, ensuring they look as intended.
Export Settings
- Tip: When exporting, two settings stand out in importance: path tracer and anti-aliasing. While the path tracer aids in the rendering process, anti-aliasing refines the image, smoothing out any jagged edges. It's worth noting that Twinmotion's default setting for anti-aliasing is 'ultra', but depending on your project, adjusting this value can produce even better results.
Conclusion
In summary, Twinmotion's appeal lies in its capability to deliver remarkable visualizations, making it a top choice for many professionals. However, the initial stages of learning can present challenges. By being aware of these Twinmotion rendering tips and adopting the provided solutions, users can ensure a smoother journey, unlocking the true potential of this powerful rendering tool. Whether you're just starting out or refining your skills, understanding these pitfalls is the first step to creating impeccable Twinmotion renders.