FBX is a widely-used and powerful file format that helps various software communicate seamlessly. It supports meshes, animations, and more, making it a go-to choice for many popular applications. In this guide, we’ll walk you through the steps to import an FBX file into Unity, reload textures, create basic shaders, and establish a standard workflow for using assets effectively.
Prefer visual learning? Check out our step-by-step tutorial video on our Globe Plants YouTube channel for a detailed walkthrough!
Step 1: Start with the High Definition 3D Template
Unity 6.0 and later versions offer a built-in template called High Definition 3D , designed for projects requiring cutting-edge visuals. This template utilizes the High Definition Render Pipeline (HDRP) , which enhances both workflow efficiency and output quality.
By selecting this template, you’re ensuring optimal performance and visual fidelity for your project.

Step 2: Organize Your Project Folders
After creating your Unity project, navigate to the Project > Assets folder and create the following subfolders:
- Model: To store your 3D models.
- Textures: To keep all texture files.
- Materials: For materials you will edit.
While it’s possible to group everything in a single folder, separating them improves organization, especially for larger projects. This way, you avoid confusion and streamline asset management.

Step 3: Import the FBX File
- Drag and drop your FBX file into the Model folder within Unity.
- Select the model, and in the Inspector tab, go to Materials and click Extract Materials .
- Choose the appropriate folder where the extracted materials should be saved. This helps you manage materials efficiently.

Step 4: Add the Model to the Scene
Once imported, drag your model from the Model folder into the Unity Scene view. This allows you to start adjusting the materials and other settings directly in your scene.

Step 5: Customize Materials
Unity’s material system is user-friendly and efficient. Here’s how to tweak them for realistic results:
- Wood or bark materials: Adjust the Smoothness slider to reduce glossiness. Use Normal maps to enhance surface details.
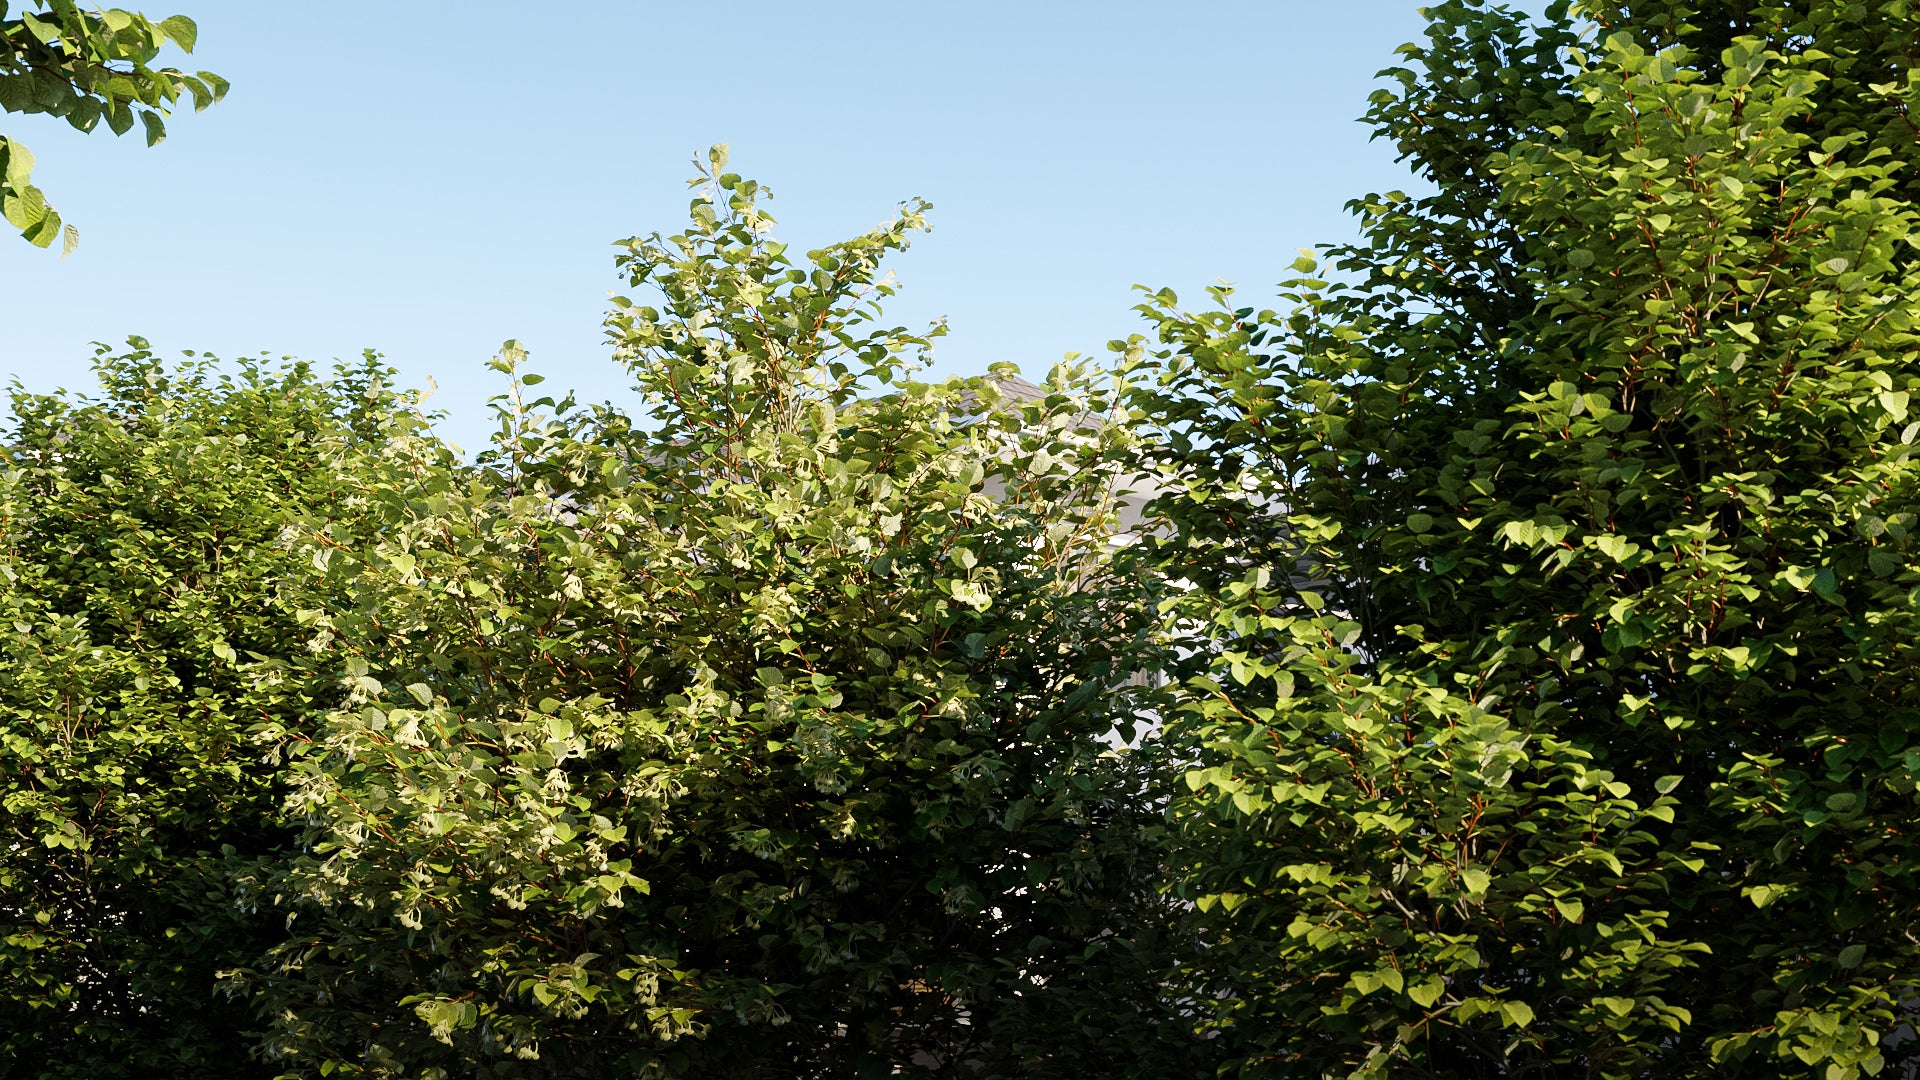
- Foliage (leaves and flowers): Unity's new material features include a Foliage Diffusion Type , which mimics realistic light scattering through leaves. This setting is perfect for achieving lifelike vegetation.

Step 6: Final Touches
After setting up the materials, your model should now look polished and ready to integrate into your project. Experiment with Unity’s tools to further refine your scene.

Wrapping Up
By following these simple steps, you can effortlessly import FBX models into Unity, customize their textures and materials, and elevate your project’s visual quality. This streamlined workflow ensures that your assets are well-organized and optimized for use.
For a more in-depth tutorial, don’t forget to watch our video on the Globe Plants YouTube channel. And if you’re looking for high-quality 3D plant models to enhance your projects, check out globeplants.com – your go-to source for realistic and professional 3D vegetation assets!
Stay tuned for more Unity tips and tricks to take your 3D development to the next level.